AWS Nick
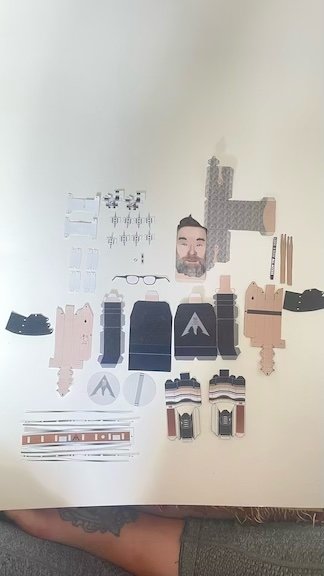
Cut all your pieces out and fold tabs, using tweezers or the straight edge of a ruler helps make clean lines

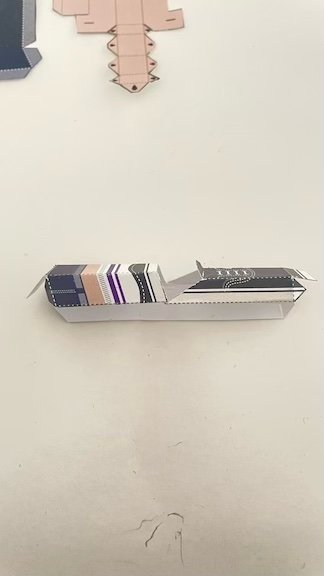
Nick Leg
Get ready to apply glue to tabs
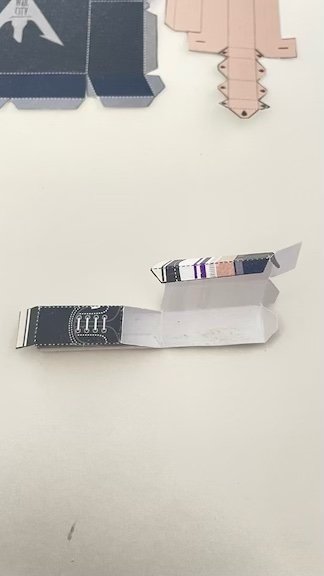
Nick Leg
Start gluing the shoe tab and press with tweezers if possible
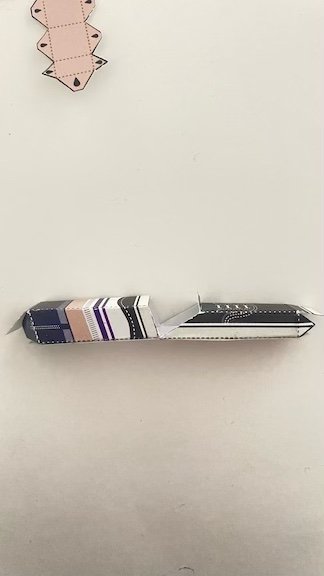
Nick Leg
Next glue the leg tab. I run tweezers down them pressing the seam together.
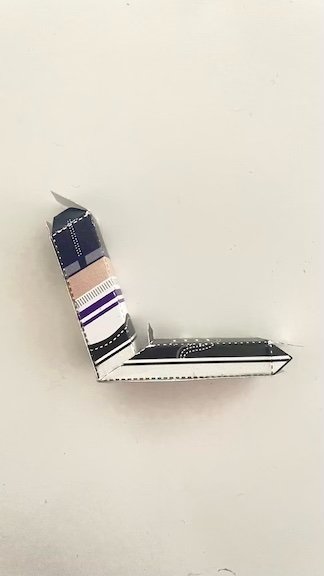
Nick Leg
Fold in tabs on both ends and glue. I fold bottom, then sides, then top tabs. Remember, don't glue the tab in the middle of the leg yet as it can be used to balance him later on.

Nick Leg
And you're done your first leg!
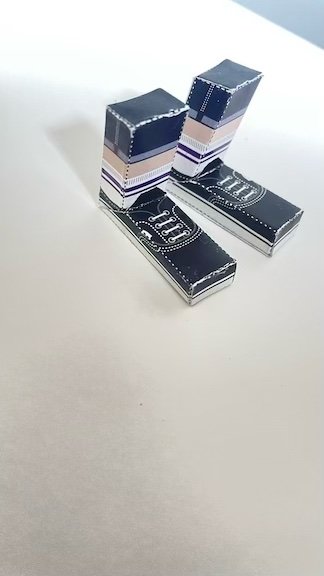
Nick Legs
Now you should have 2!
Set these aside and on to the next part.
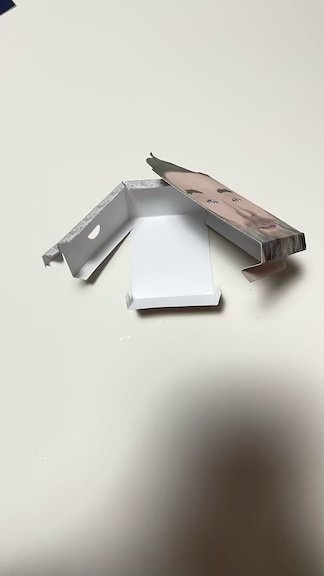
Nick Head
Mountain fold ^ all tabs accept the end tab under the chin, valley fold that one "v". Make sure you've cut and folded his ears using an exacto knife (or just leave them if you want, but you won't be able to cut them out later on)
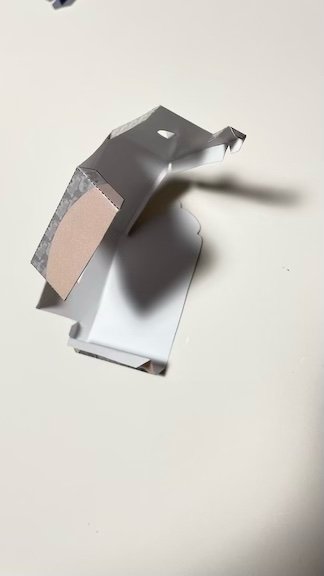
Nick Head
Make sure all tabs are folded
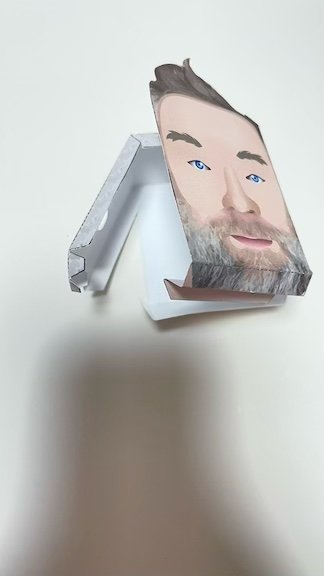
Nick Head
Glue and press all tabs. -
I thought I had a better pic of after gluing, but I don't.
If you're having trouble, check out one of the other members as they're all the same, but I might have gotten better pics.
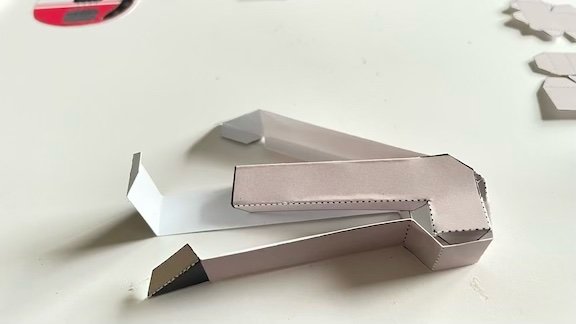
Nick Arms
this is how both his arms go together, don't forget to first use an exacto knife to cut slits in his hands where marked to hold his sticks
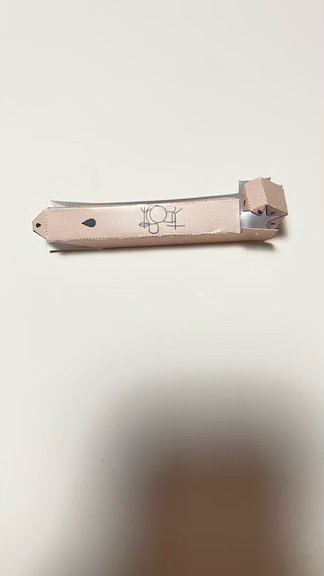
Nick arms
start gluing tabs
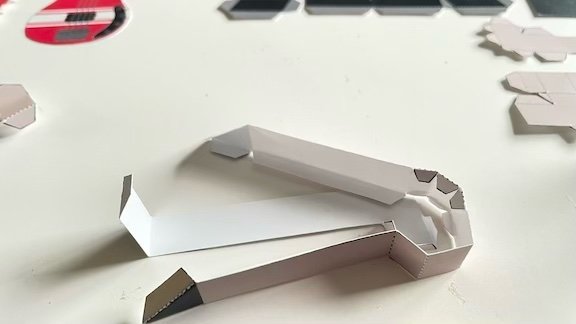
Nick Arms
a better view of how to tuck and glue the tabs in place around the arm
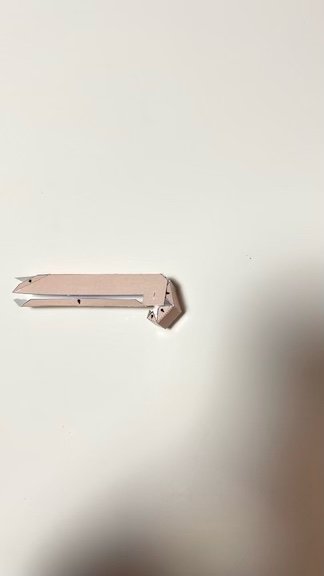
Nick Arms
Glue the other side and tuck tabs in. sometimes it helps to runs some glue of the reverse side of the arm where the tabs touch it to make it more secure, you can again also use tweezers to run down inside on the seam to secure it.
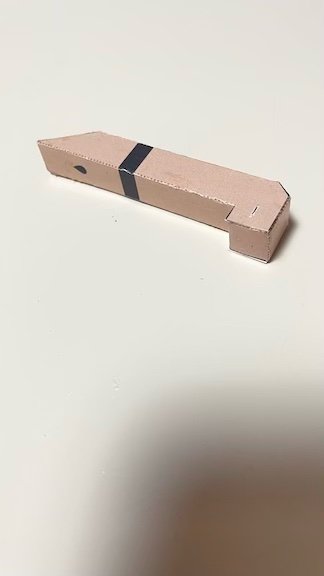
Nicks arms
Finally, glue the end/top of the arm tab and tuck in
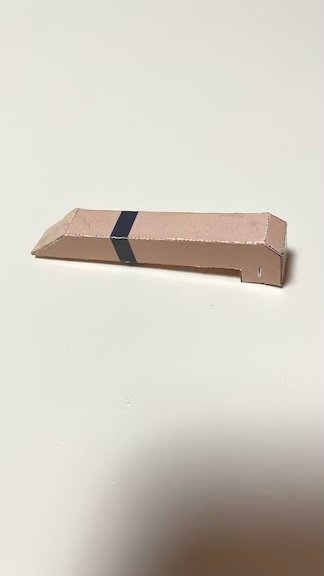
Nick Arms
now you should be done! just do the same to the other arm pieces
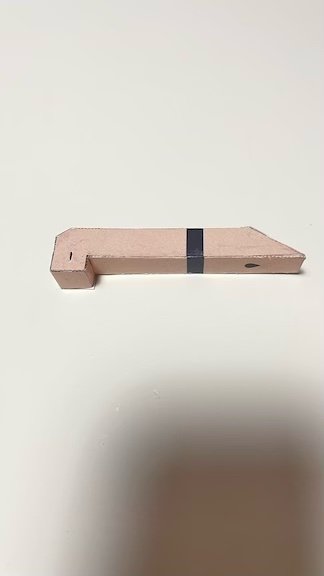
Nick Arms
Final shot of Nick's "cut" arm, so toned and muscular it's amazing how realistic it turns out
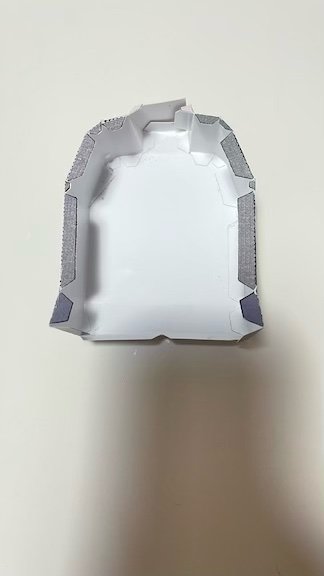
Nick Body
On to Nick's shapely body. start by folding in tabs and lining up the side piece like in the picture
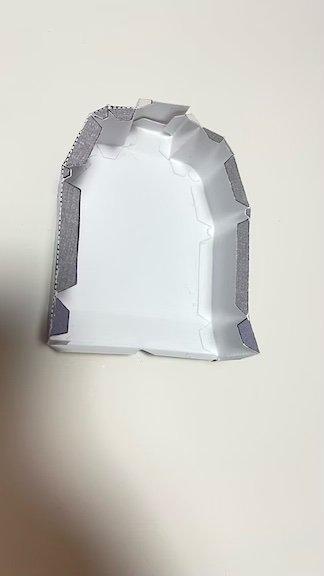
Nick body
Note how the front of the body had a mountain fold ^ at the belt line, fold this gently so it aligns with the sides of the body. Fold top tabs in all around the body and put glue on them, accept the bottom
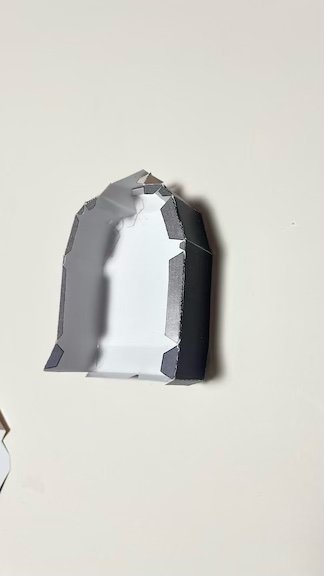
Nick Body
this is a better shot of how the front of the body curves a bit to match the sides. next we're gluing on the back so run a bit of glue on the underside of the back piece where it touches the tabs to help secure better
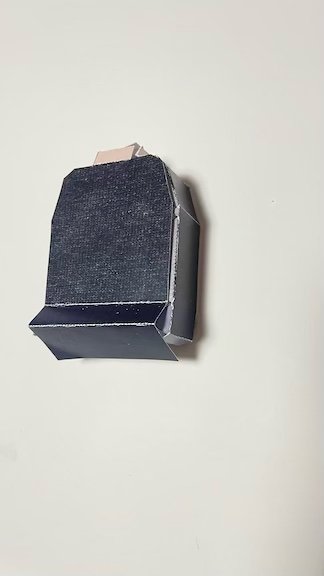
Nick Body
Line up the back panel leaving the bottom open so you can fit and run tweezers down the tabs/sides to secure better, note the valley fold v at the belt line on the back, again fold this gently, then the bottom mountain fold^ tuck this over the bottom tabs and glue to secure. then fold and tuck in then glue the neck tabs in place
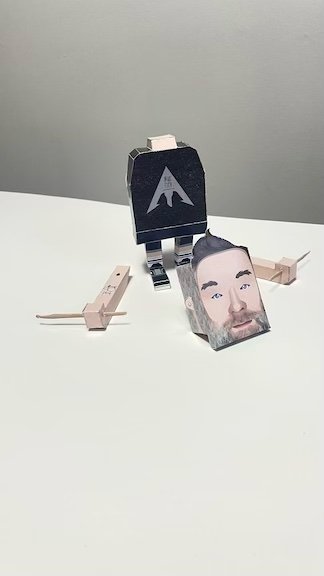
Nick parts
This is what we should have so far. glue the legs in place about an inch apart on the bottom body panel
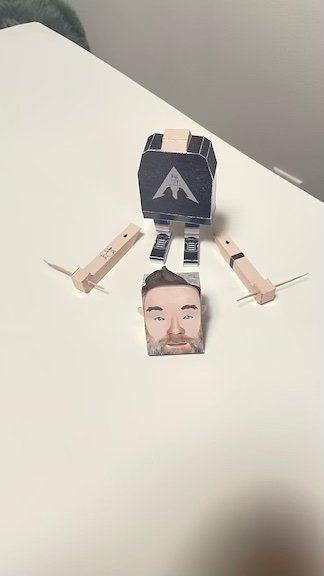
Nick Pieces
Next is to glue the head in place on the centre of the neck. I put glue on the base of the head as well as the top of the neck and secure them
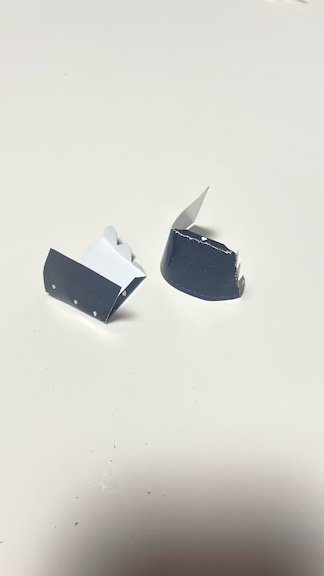
Nick Sleeves
These are his shirt sleeves, they're a little tricky to get together without tweezers, but if you use tweezers to hold together the glued parts til they're set then you should be good
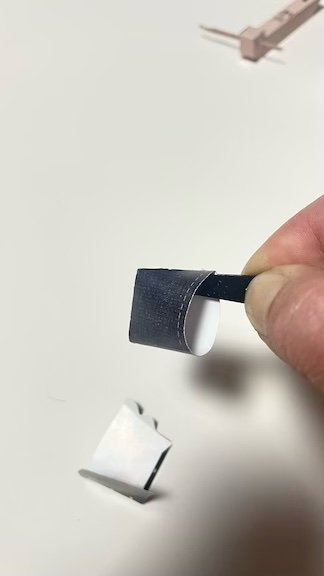
Nick Sleeves
here's an example of how I hold the sleeves together with tweezers to set the sides and the top tabs. after these are dry, you can glue them to the sides of nick's upper body and then glue the arms in the sleeves putting glue on the drop spots on his arms

Nick Sticks
Finally, if you haven't done them yet, fold the drum sticks in half and then glue to secure. then slide them in the previously made slits in his hands
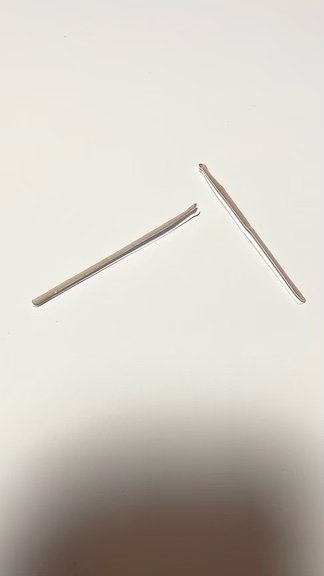
Nick Sticks
these are the finished drum sticks
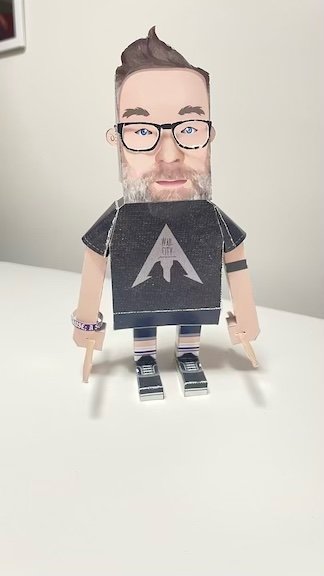
AWS Nick
Now we have a Nick! ready to rock, but he needs his drum!
Next up, Nick's custom snare drum...
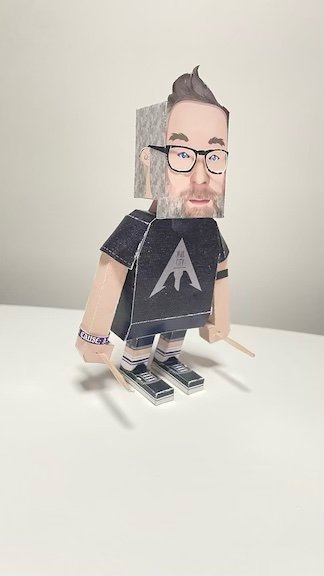
AWS Nick
One last shot of your masterpiece so far!
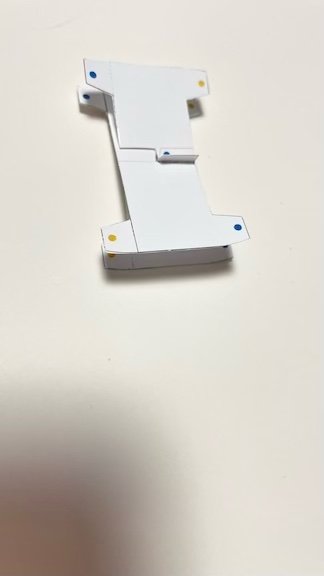
Nick Drum
start with these 2 inner support pieces, on each you should notice a L shaped line to be cut beside a fold line. after cutting and folding the inner tabs, fit together and glue like in the pic
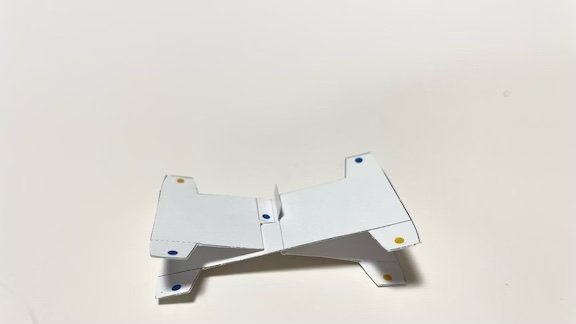
Nick Drums
here's a better shot of how the 2 pieces fit together
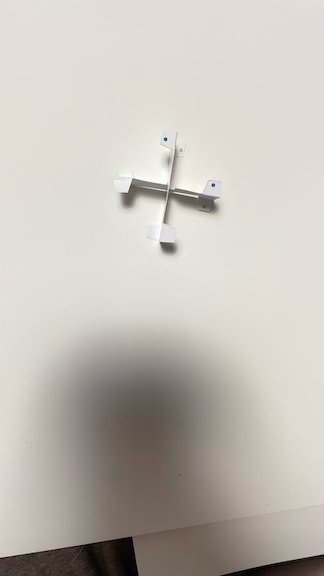
Nick Drum
fold end tabs like in the pic, I believe blue dots go up and yellow face down
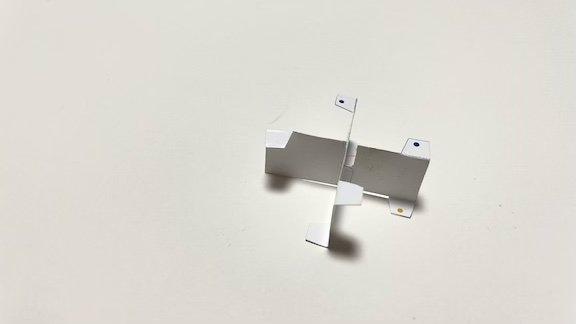
Nick Drum
This is what you should have
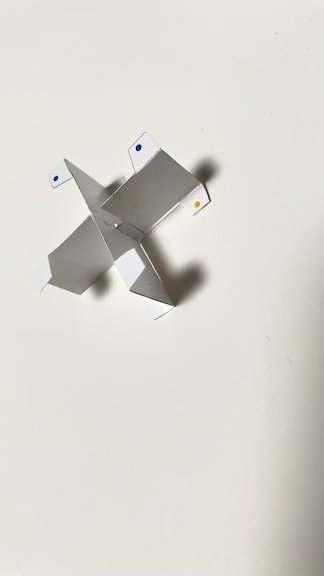
Nick Drums
One lastnshot to make sure we're on the same page
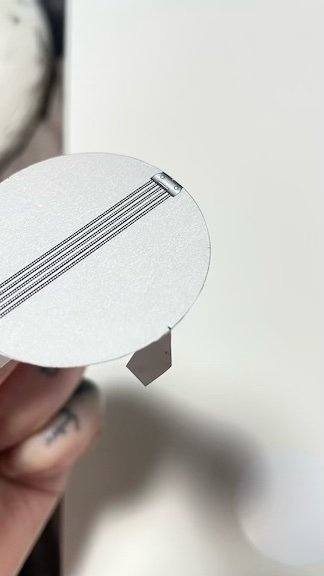
Nick Drum
Now take the bottom snare piece and if you look closely there should be little fine lines where you line up the support pieces edges to the edges of the snare pieces and glue in place

Nick Drum
make sure all 4 tabs are glued in place at the markers on the snare piece
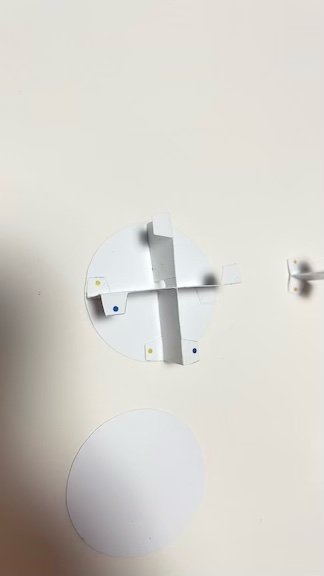
Nick Drum
This is what it should look like from the bottom when secured
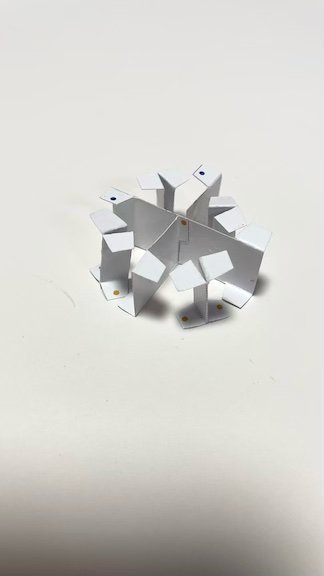
Nick Drum
now take the remaining 4 support pieces and fold in half and then all the tabs down then place them in-between the 4 main supports like in the picture and glue
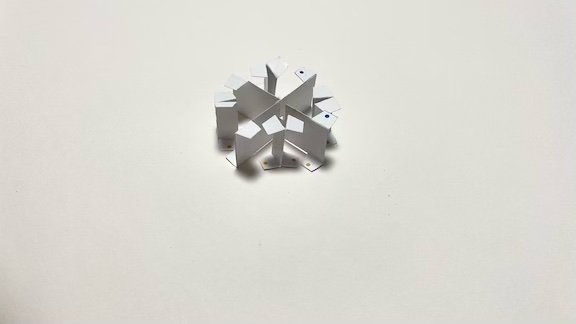
IMG_8462.jpeg
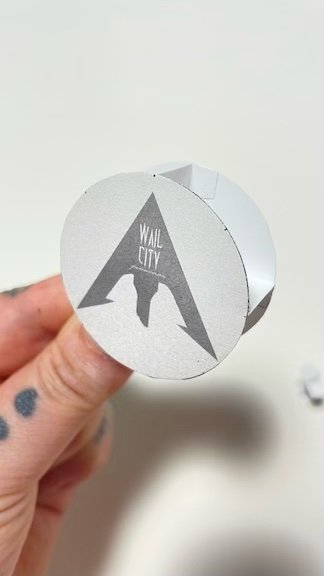
Nick Drum
Next secure the top of the snare, note how it also has small guide lines to line up to match where the supports are
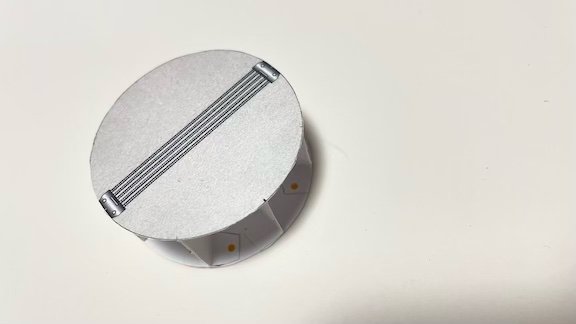
Nick Drum
Now you should have the base of the drum as in the picture
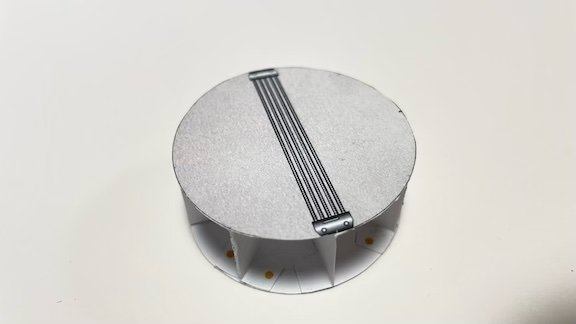
Nick Drum
another shot of where we're at
Nick Drum
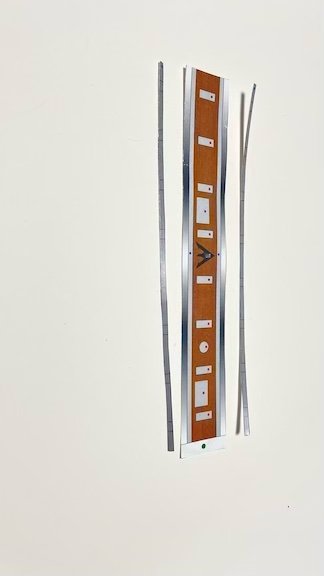
now we're gonna work on the outer shell. first take the main outer shell piece and the 2 strip pieces with just the lines on it
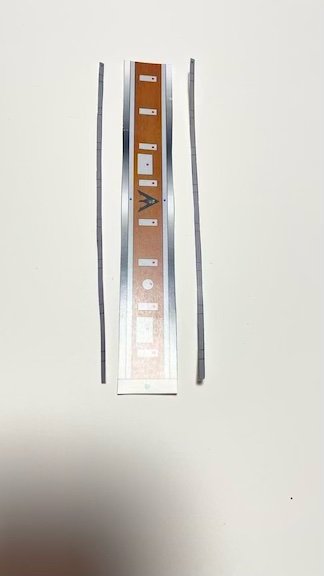
Nick Drum
make sure you have the right pieces, the side strips are going to get glued to the main drum shell where the blue dots are
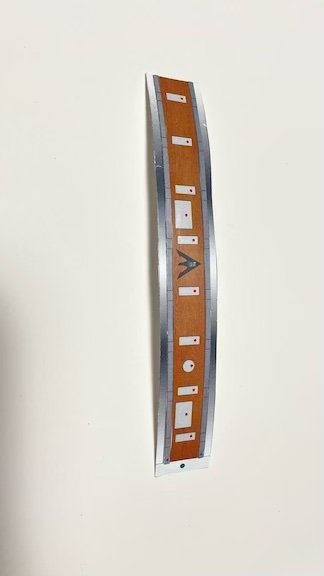
Nick Drum
attach the strips to main snare piece over blue dots
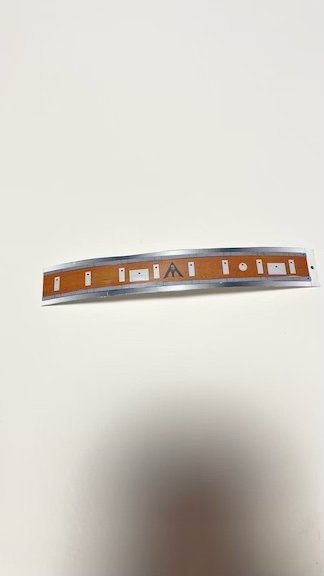
Nick Drum
another shot of how the strips should be applied
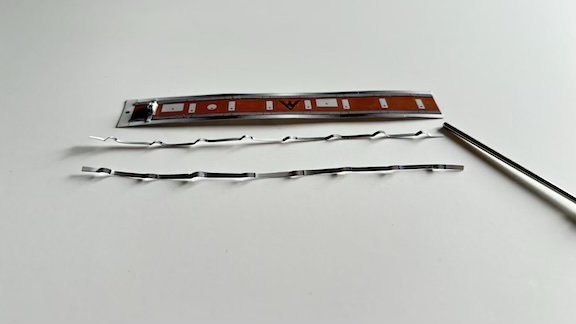
Nick Drum
next take the other 2 strips with the lines, but the longer ones with the "shiny" parts (you can flip forward a few pics to see how these are used to make more sense of them if needed. but you're gonna wanna "bump up" the spots between the lines. I used an inside of a pen and just half wrapped the paper around the pen base to curve it and then keep the edge lines flat
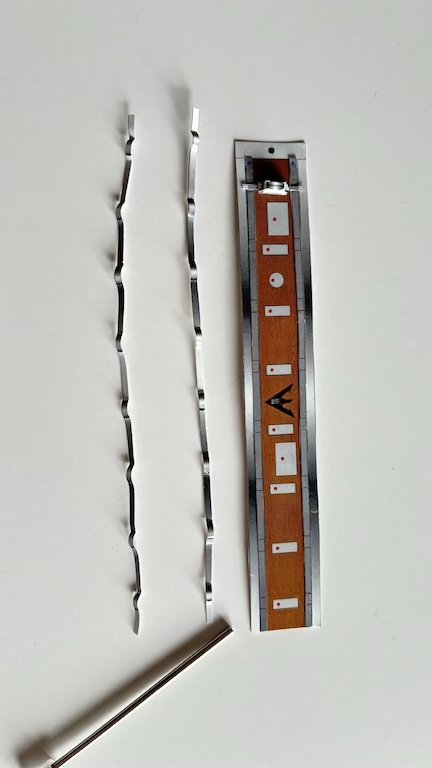
Nick Drum
This is what the strips should look like when you're done shaping them, next we'll line them up over the last strips we glued to the base, glue the flat parts between the line gaps where the top part should be rounded above them
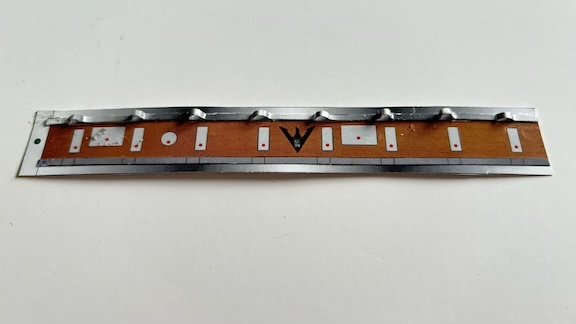
Nick Drum
This is what it should look like once glued on the bottom strip, do the same for the bottom strip
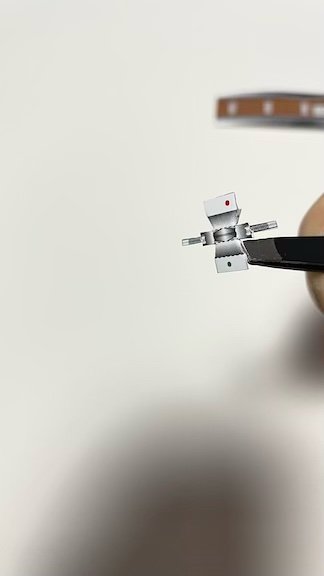
Nick Drum
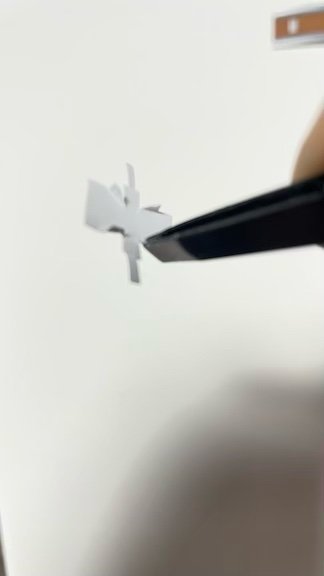
now.....these fuckers, they're literally the worst part lol they're so tiny but add SO much awesome detail to the drum so be patient and just take your time, it'll be worth it.. start by using tweezers to fold the side and edge tabs in
Nick Drum
fold these tiny tabs in like this and then fold the fold that go in the other direction

Nick Drum
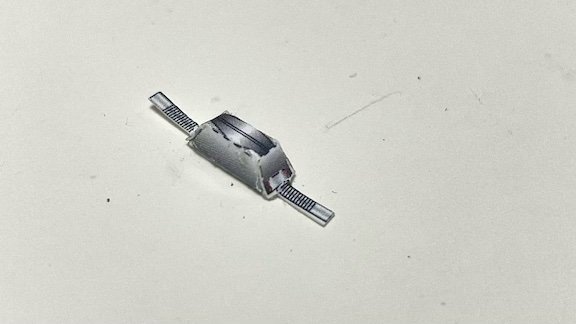
fold around bottom and tuck in tabs and glue, you should have what we have in the next pic
Nick Drum
so after you fold it around and tuck the tabs in and secure you should have a piece that looks like this

Nick Drum
another shot of what we're going for here
Nick Drums
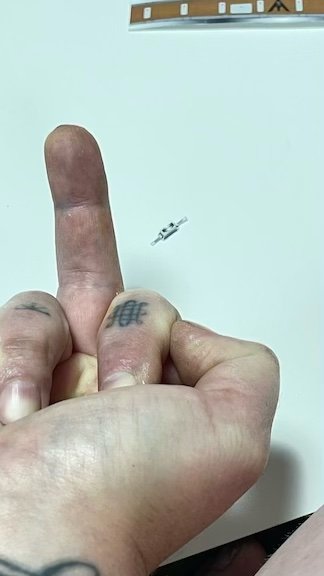
Now repeat 7 more times..... I know... but trust me
Nick Drum
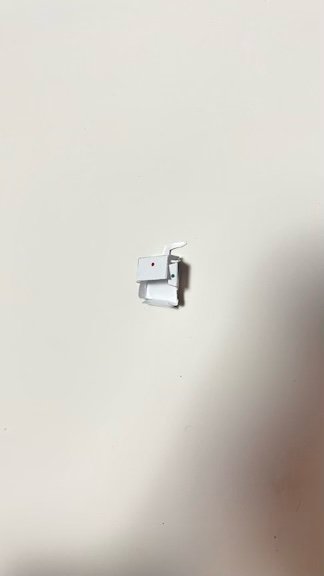
Next are these little pieces that hold the snare onto the bottom of the drum in real life, nick told me what they were called and that there's supposed to be only one...but I'm an anarchist!
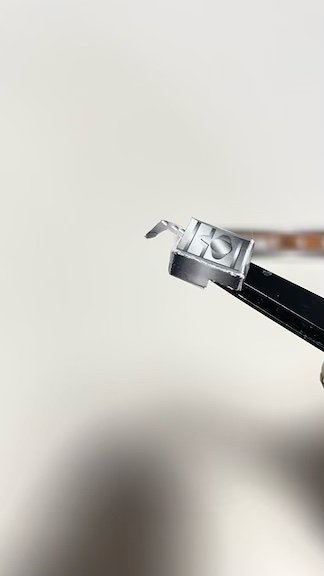
Nick Drum
fold and and glue tabs, use tweezers to secure the tabs in place
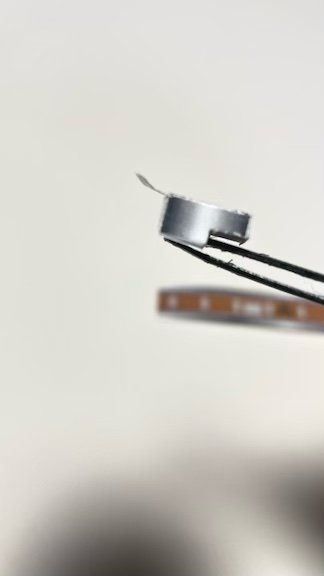
Nick Drum
press together all the tabs
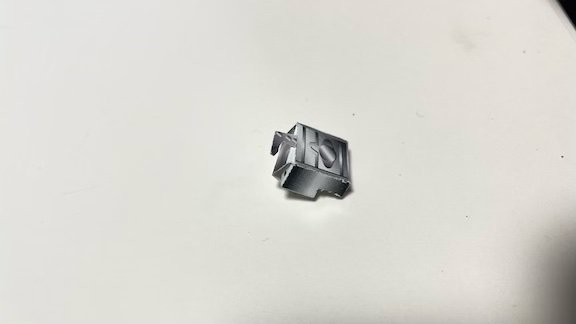
Nick Drum
and now you should be done another little part that I totally forget the name of, just do the exact same with the second one
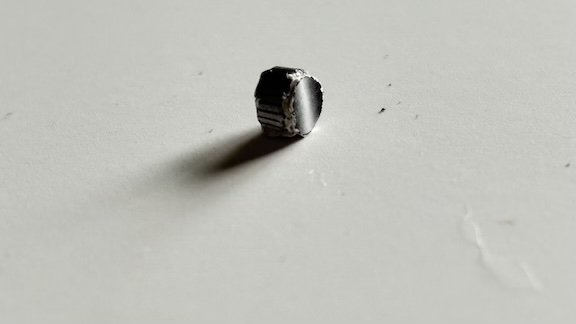
Nick Drum
Knob thing....it's tiny, but pretty straight forward. Fold the tabs in/down on both sides of the little strip part, fold them back straight and then roll the strip back and forth on itself a bit to create a rounded curve to it, glue the end with the blue dot under the other end and fold tabs back down on both sides. Glue the blue tabs and the back of the tiny circle/end of knob then gently press together. you should not have the tiny cylindric knob like in the pic, set aside for now
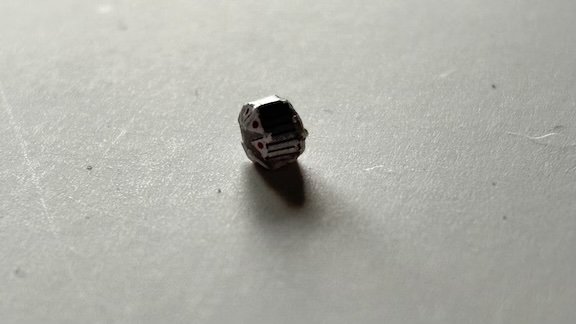
Nick Drum
Back side of tiny knob when finished
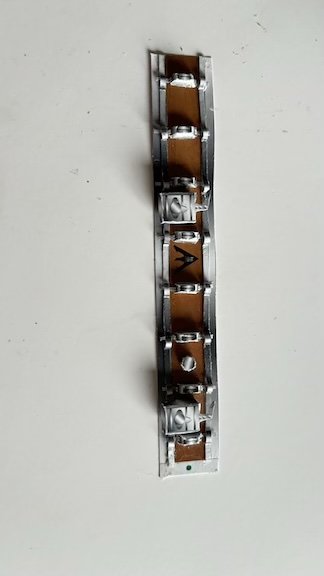
Nick Drum
Now's time to put all the tiny bits you've just made and glue them in their places.
notice the 8 small bitch piece's ends get tucked under the raised bumps we made with those strips. the knob goes on the round space with the red dot and those parts that hold the snare on go on the larger rectangular spots with the tiny handles upwards and the bottoms closer to the edge.
place glue on both the tabs and the placeholder space on the drum for best adhesion. make sure everything's dry before moving onto the next step
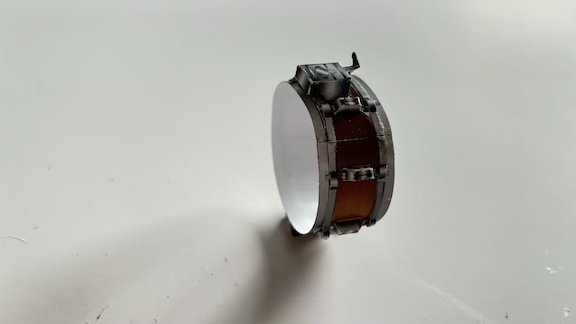
Nick Drum
Gently roll the drum and glue green dotted tab under opposite side and hold for awhile until it's set
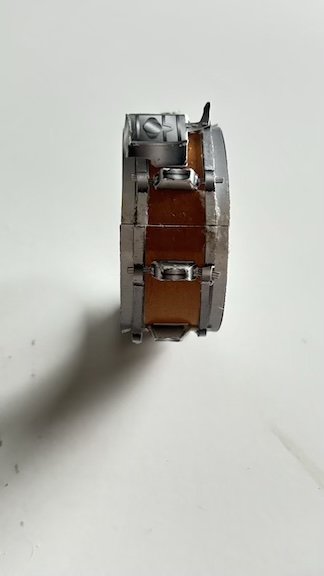
Nick Drum
Side view of drum shell

Nick Drum
line up the bottom snare across in-between the side "snare holders" (I know all you drummers are cursing me lol deal with it!) and gently slide the centre of the drum into it's shell. it should be a perfectly snug fit.
Nick Drum
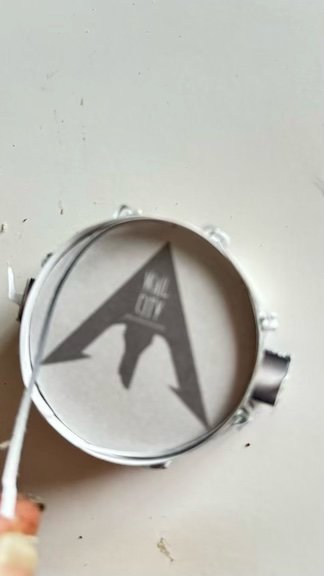
Next take the final 2 gradient strips and glue them just inside the rim of the snare on bot the top and the bottom like in the pic

Nick Drum
and now you should have a super rad little snare to keep Nick happy
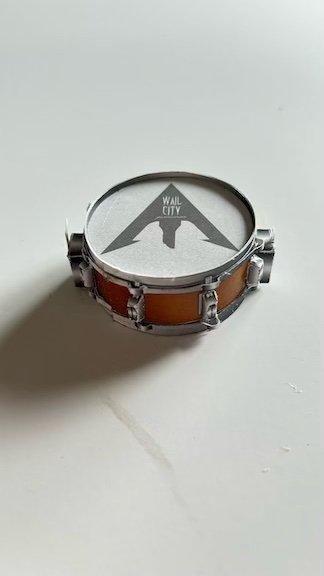
Nick Drum
Finally shot of the finished snare, be proud of yourself! this little guy's tricky, maybe the trickiest of all the set.
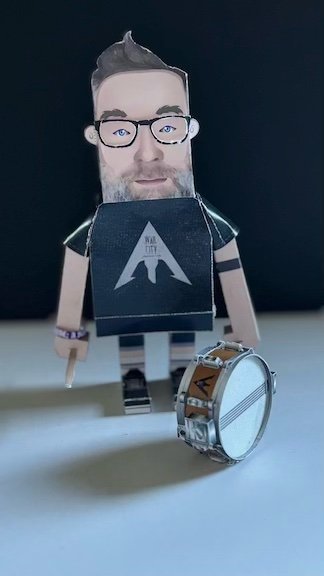
AWS Nick
Now it's finally time to sit back and marvel at your masterpiece and pat yourself on the back for an epic accomplishment! You now have you're very own little Nick buddy and action snare accessory.

AWS Nick
Nick's usually a quiet guy, but he's now ready to be your best bud, listen to all your secrets, and go on adventures beyond your imagination with.
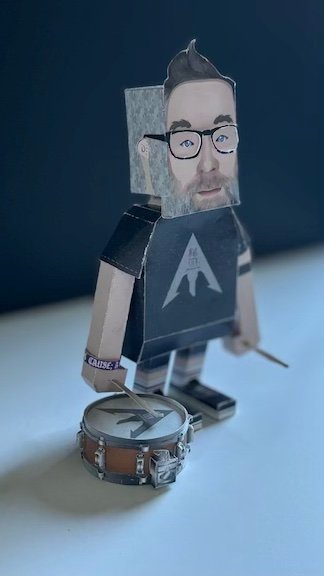
AWS Nick
have you admired him from the side yet? go ahead, give it a try, it's highly satisfying.
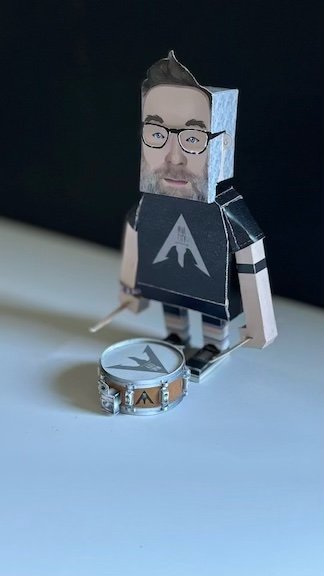
AWS Nick
Incase you missed the obvious, Nick has an amazing company called "wail city" where he hand makes seriously epic custom drums. Now that you know, check that shit out here.
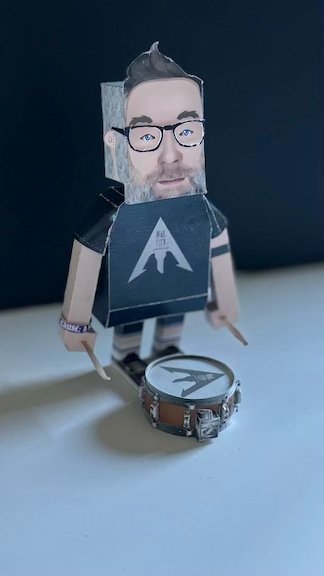
AWS Nick
Did you know Nick doesn't age? seriously. known him over 20yrs, hasn't aged a day. it's freaky.
frequently check your little Nick for signs of aging, bet ya won't find any, THAT's how realistic we made these.
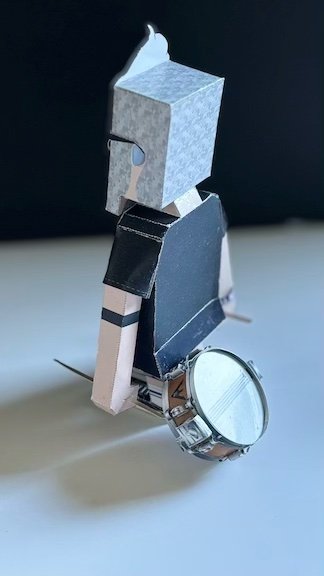
AWS Nick
Uh Oh! where'd your snare go Nick?
it's hiding behind you! silly Nick.
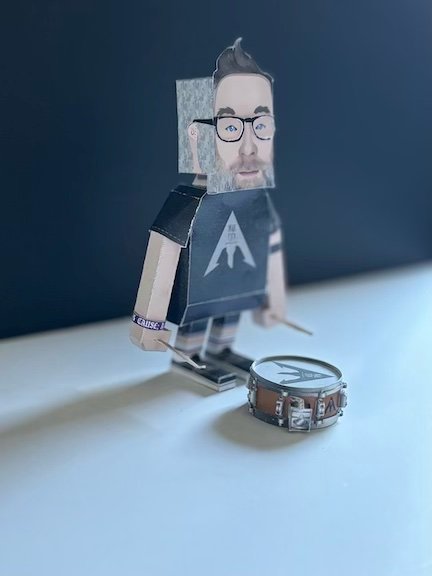
AWS Nick
If you haven't already, you can now glue the ankle tabs in a balanced position so he stands up properly
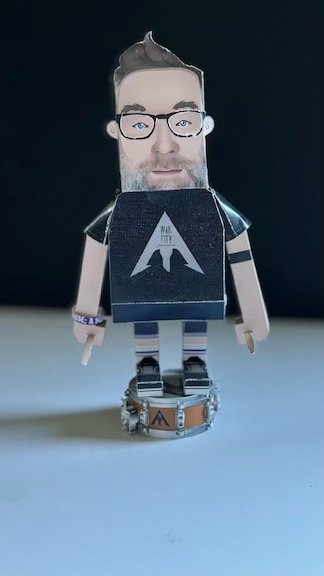
AWS Nick
TA DA!!! You're all done you're new little buddy, onto the next!
maybe Nick can help you with the rest


