AWS Ben
If you've been doing these in order, you're probably pretty pro at this by now, if not, I might suggest at least browsing the other member's tutorials, especially if you get stuck because a lot of them have more through pics and instructions.
AWS Ben
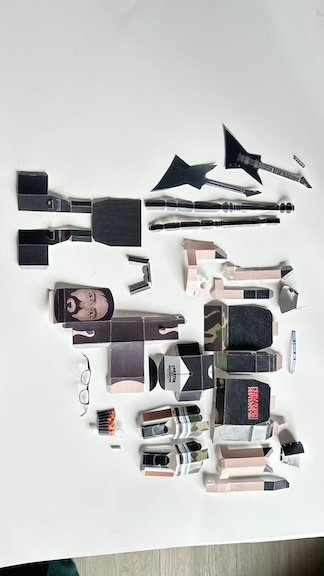
We start, as always, by carefully cutting out all the pieces and then marvelling at the feat you've just completed.
Ben Leg
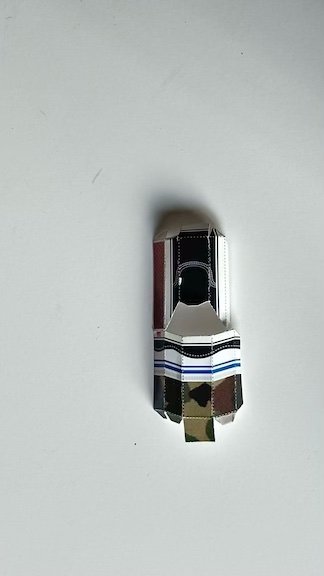
as usual, we start off with the legs as they're the simplest. Fold down the fold lines using the straight edge of a ruler to get a crisp line.
Ben leg
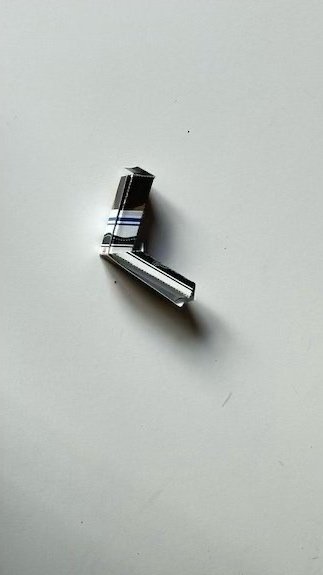
this is what it should look like, but this is just folded together so glue it to look like this....
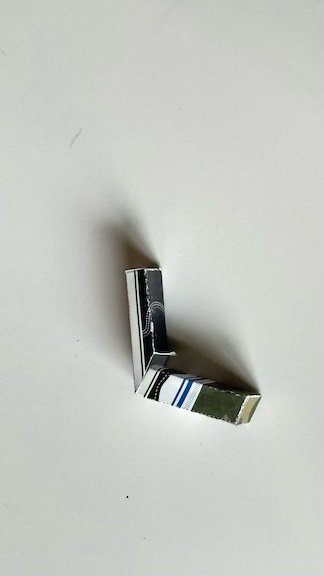
Ben Leg
Glue the side tabs together and press with tweezers, then fold in and glue the top and bottom tabs. leave the middle shoe/ankle tab for now as it can be used to balance him later.
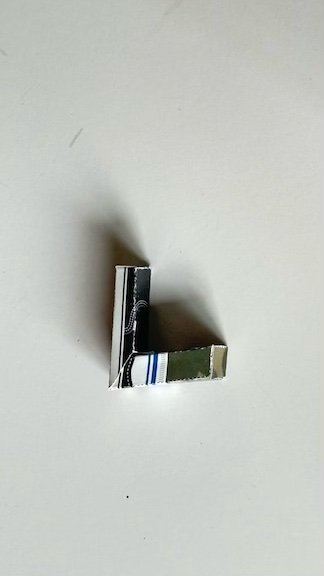
Ben Leg
Once done, you should have a leg that looks like this, high fn five!
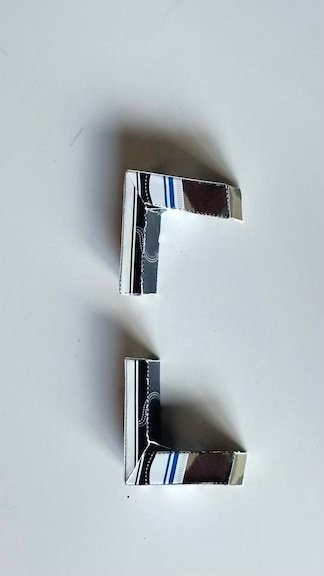
Ben Legs
Now do the exact same thing to the other leg and now you'll have 2!
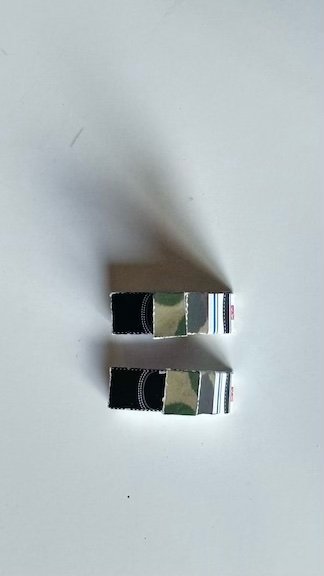
Ben Legs
top view of Ben's little dancing legs
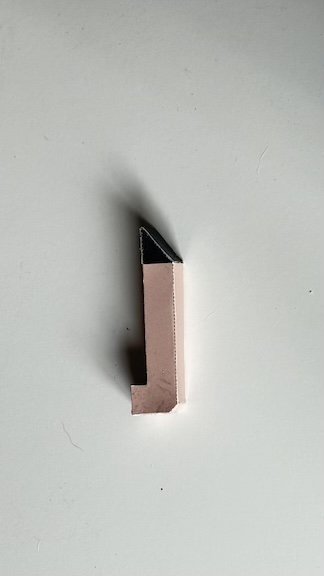
Ben Arms
The arms are pretty straight forward, if you have any issues check the other member's tutorials as I have better explanations and pics in them. but you basically fold down the fold lines and tuck in the tabs and glue. this is his left arm
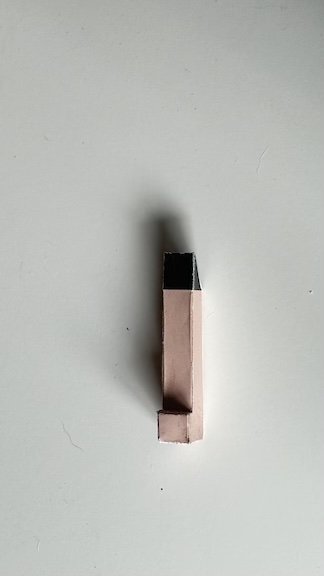
Ben Arms
This is what you get when you get ai to explain why a whilhem scream is the best band ever....
The Wilhelm Scream is
The Wilhelm Scream is a famous sound effect in movies since the 1950s, heard in over 400 films. It brings nostalgia and humor, making it a classic in cinematic history loved by fans and the film industry.
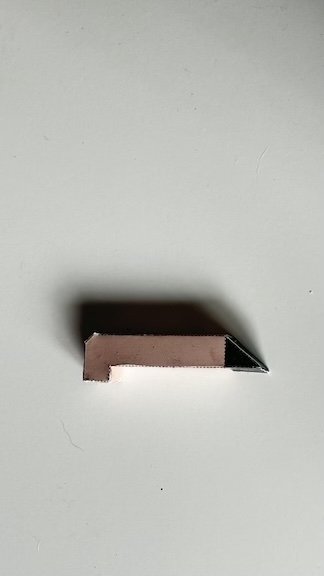
Ben Arms
admire the realistic muscle tone you're able to create with just paper!
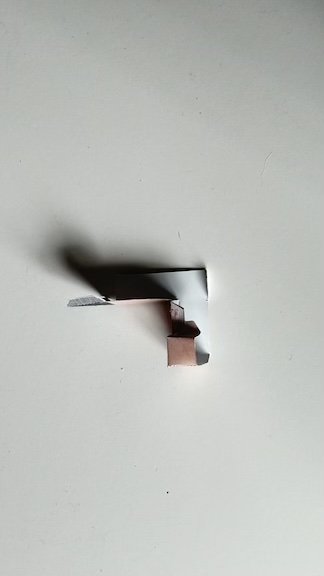
Ben Arms
The right arm with the hole in it is a bit trickier, but not too bad. just make sure you've cut out the cup holes and fold the tabs along the lines
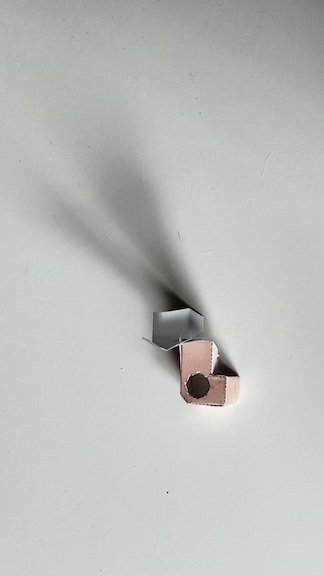
Ben Arms
Tuck and glue tabs in around his "fist"
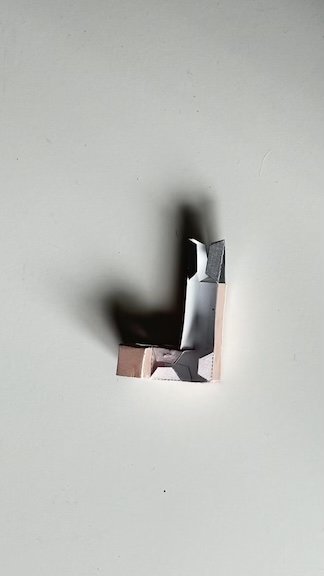
Ben Arms
Glue back/bottom piece like in picture and fold tabs in
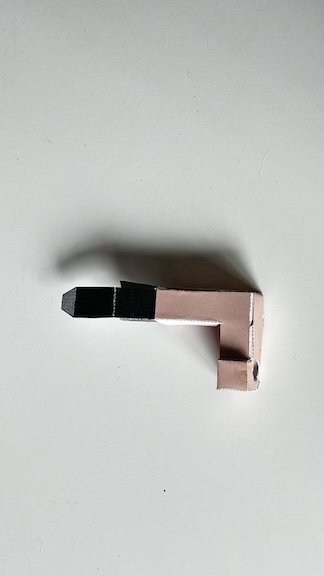
Ben Arms
glue "inner arm" piece, it helps to run some glue around the back side of the inner arm where the tabs touch it
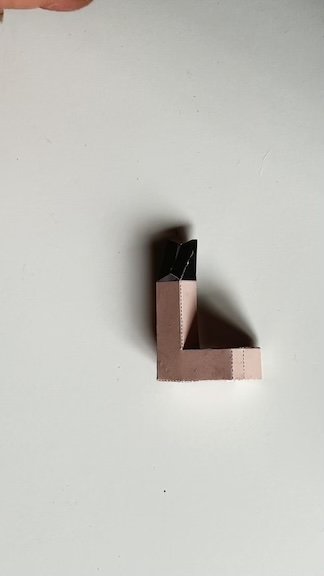
Ben Arms
fold over, glue tab, and tuck in top half of inner arm part
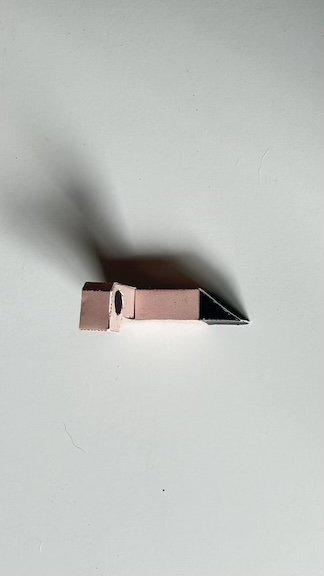
Ben Arms
this is what Ben's finished right arm should look like, with hole ready for ice coffee
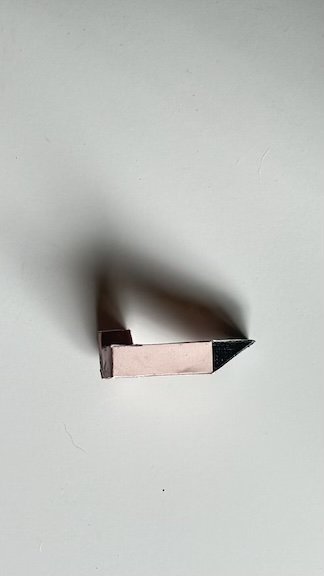
Ben Arms
Another angle of Ben's buff right arm
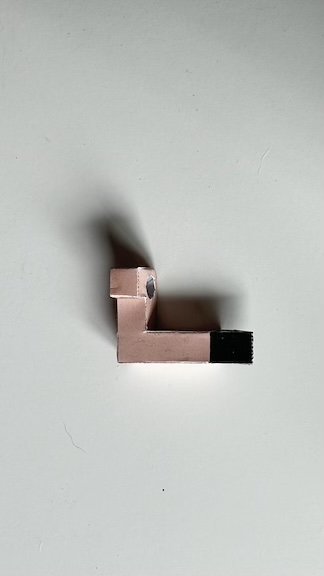
Ben Arms
Final shot of Ben's right cannon
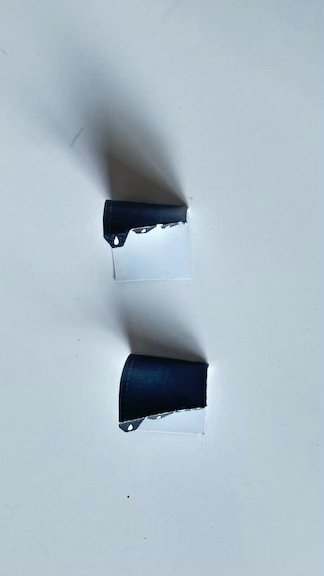
Ben Sleeves
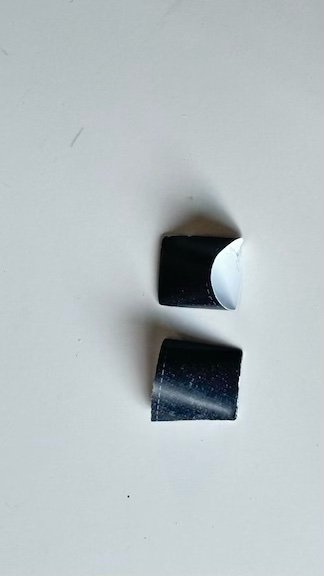
Fold the tabs in on the sleeves, glue and press and hold with tweezers until set
Ben Sleeves
These are what the final sleeves should look like
Ben Arms
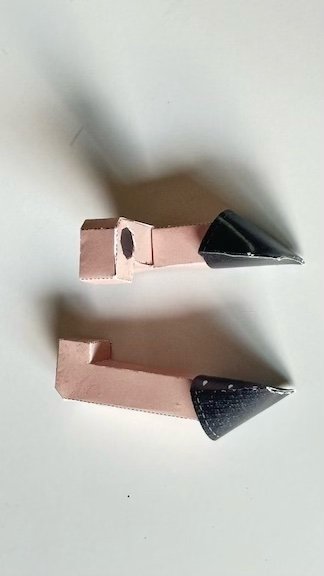
The gun show! - don't glue the arms in the sleeves so that you can remove them to put on his axe
Ben Ice Coffee
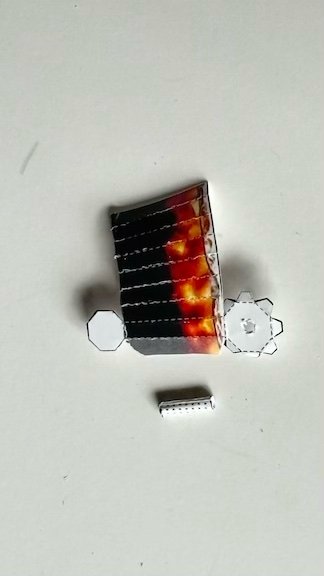
fold in tabs and gently fold ice coffee cup along lines. tightly roll straw starting at tab gluing the inside so that once it's rolled it stays
Ben Iced Coffee
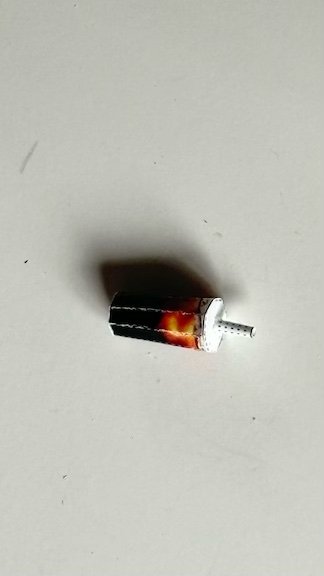
wrap coffee in circle and tuck in tabs of top and bottom then insert straw in hole in top
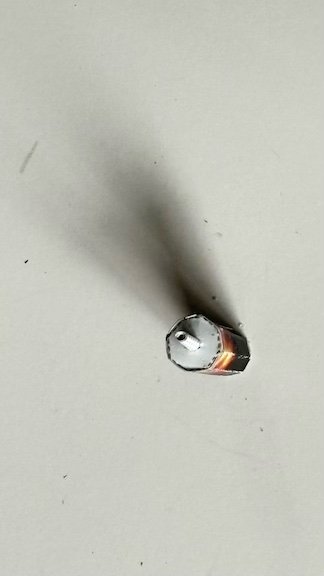
Ben Iced Coffee
So fresh, so cool
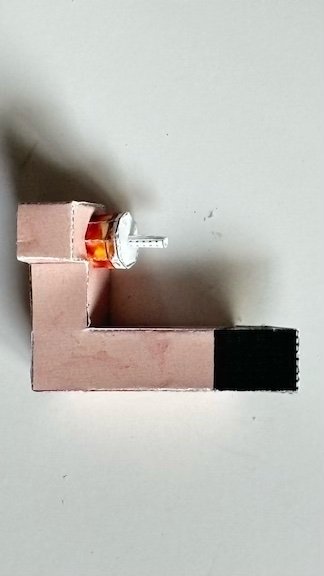
Ben Arm
Rock that iced coffee Ben!
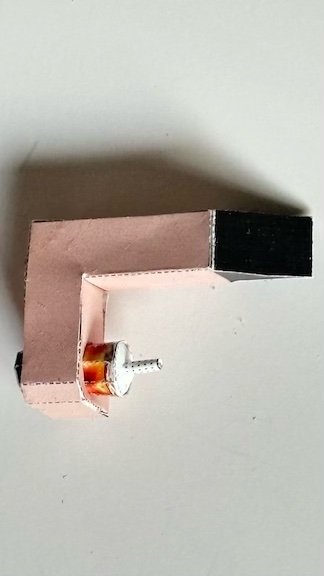
Ben Arms
Do you even iced bro?
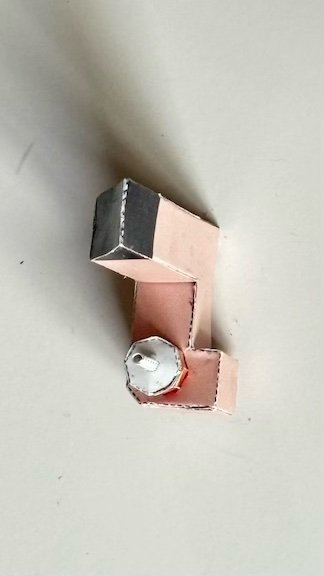
Ben Arms
top view of the coffee too
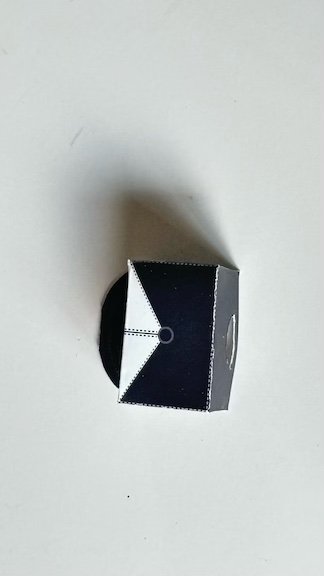
Ben Hat
Once again, I got better pics on how the hats go together, probably Nuno's tutorial. but they're pretty straight forward
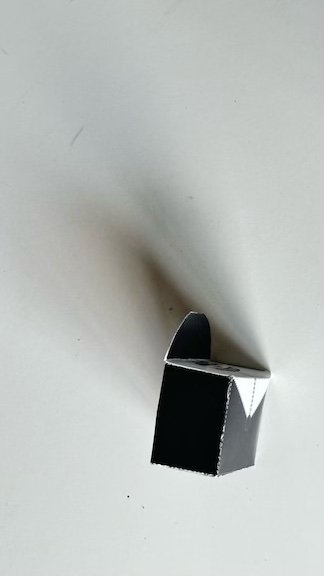
Ben Hat
Another cinematic view of that rad hat

Ben Hat
Final shot the the Creator Destructor VERY limited hat
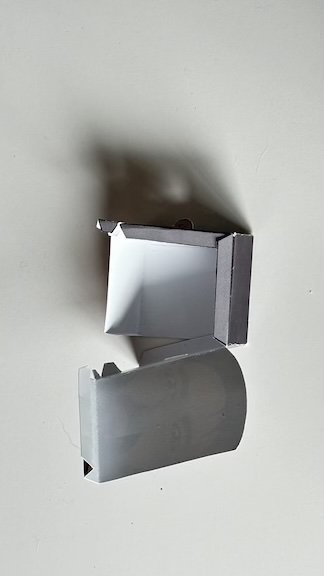
Ben Head
On to his head, as usual, don't forget to cut out his little ears with an exacto, you'll need them to rest his glasses on later. then fold in tabs and start gluing as in pic
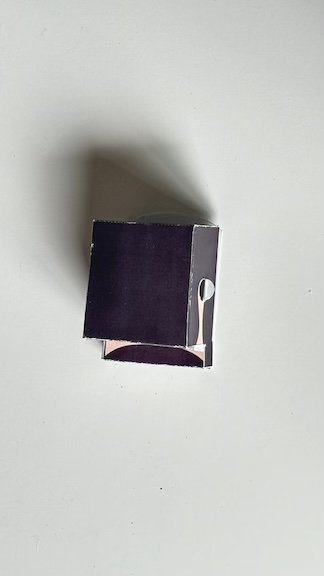
Ben Head
I wish I got a better pic of under his chin, but hopefully you'll be able to figure it out. if you run into issues, check out nick's tutorial or shoot me a message.
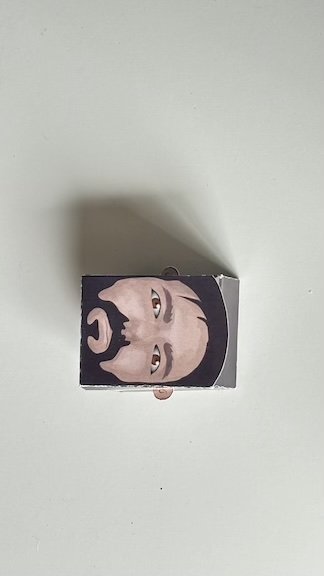
Ben Head
Ben's noggen in all it's glory!
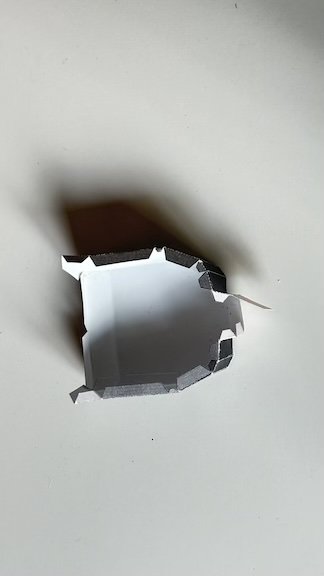
Ben Body
Fold in tabs on front of body piece and side piece, glue tabs in place and secure side piece to front body side as in pic
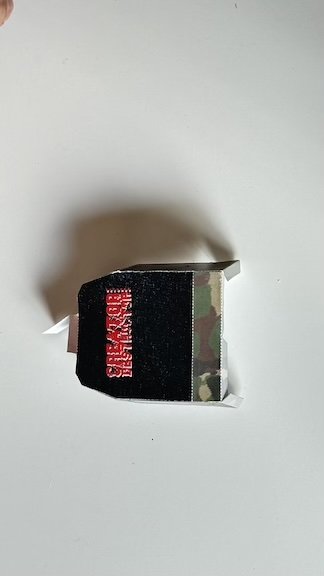
Ben Body
this is what the front half of the body should look like, don't forget to make a light mountain fold ^ across the fold like at the belt on the front and a slight valley fold v at the same place on the back panel
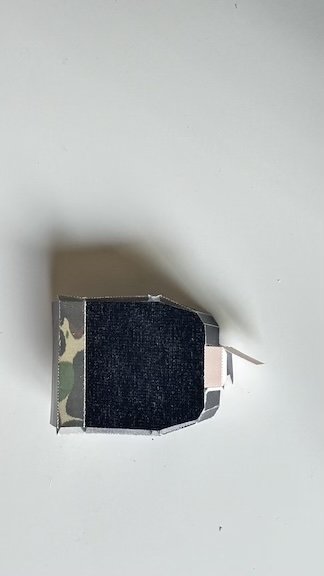
Ben Body
Glue tabs at rear of front body parts, but also run a little bit of glue around the back edge of the back body panel where it touches the tabs to help adhesion. use tweezers to press front the inside before securing bottom panel gently .

Ben Body
Fold in and glue the neck tabs and you're done making Ben's fine sculpture of a body
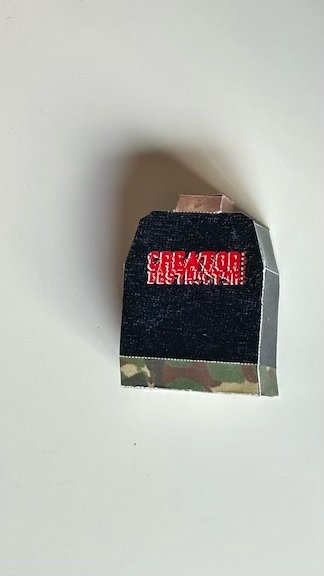
Ben Body
Front view of finished body

Ben Body
Back view of finished body
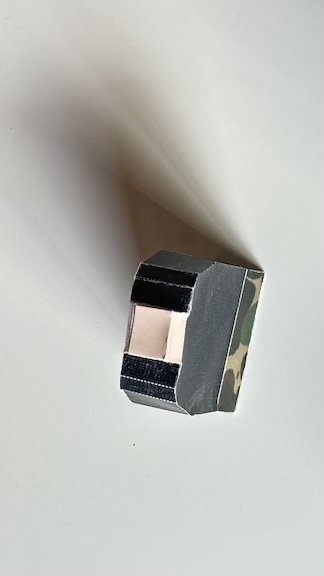
Ben Body
Top view of finished body
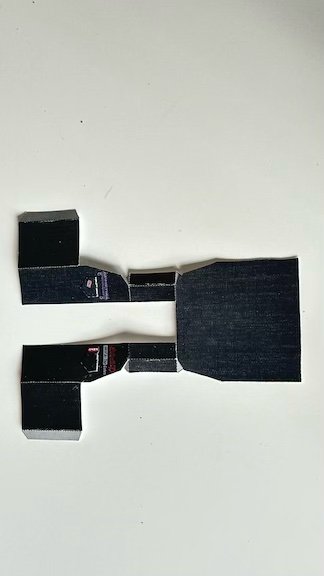
Ben Vest
So, unlike in the following pics, this is actually when I'd put his vest on him and glue the tabs down etc. rather than fight with trying to put it on over his sleeves later on. but don't forget to glue his pickets on first.
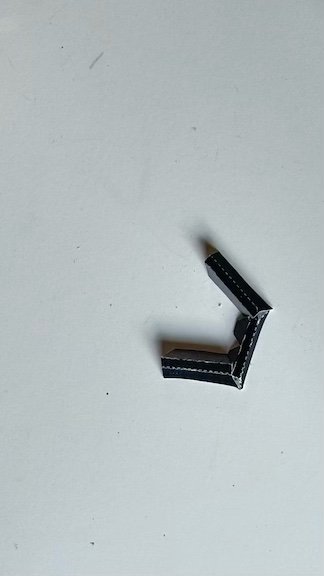
Ben Vest
these fucking pieces are actually the collar to the vest, I'd just throw them straight in the garbage, unless you're sadistic and want to wrestle with them to get them to fit and stay as a collar, but they're really not necessary and, if anything, get in the way.

AWS Ben
attach the sleeves after putting his vest on, but leave his arms so you can take them in and out so you can remove the right one to get his guitar on later
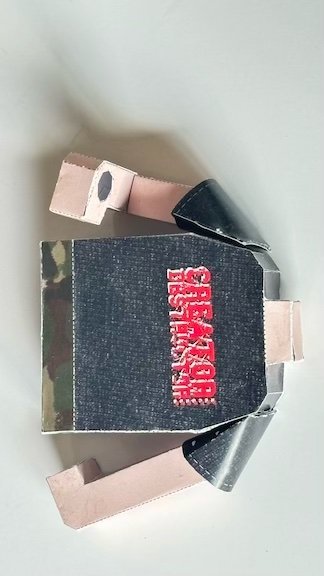
Ben Body
This is what you should have if you stick the arms in.... plus the vest obviously
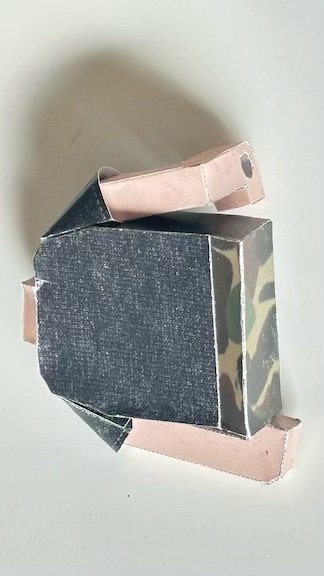
Ben Body
Back view of ben's body with the arms set in, minus the vest that should be on at this point

Ben Body
Now we attach the little legs, about an inch apart like in the pic

Ben Body
booty shot!

Ben Body
Place the arms in the sleeves for now, they should just kinda wedge in

Ben Body
Bottom shot of leg placement, all that's left to do is glue the head on the centre of the neck
Ben Guitar
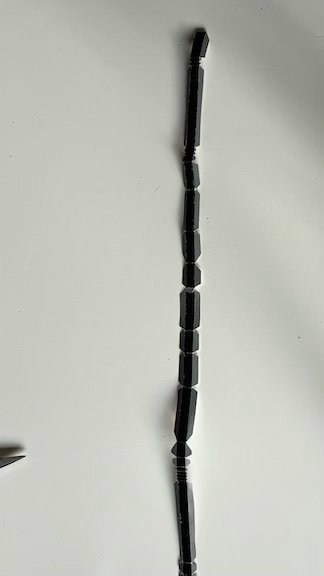
On to the Axe!
start by taking the 2 side strips and gluing them together so you have one strip just like in the pic
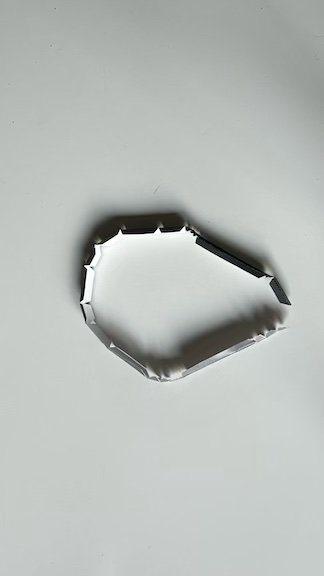
Ben Guitar
take a close look at where the bends and folds are in this, this is how it will wrap around the side of the guitar starting at the top of the head
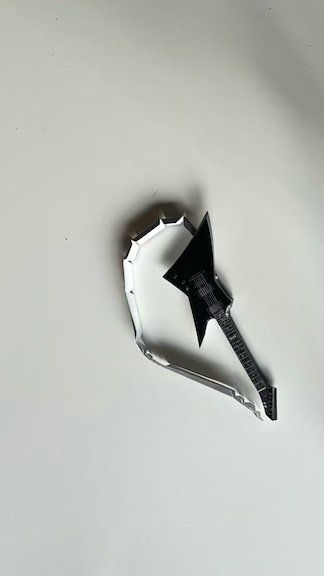
Ben Guitar
start with the top guitar piece and the top of the side strip and glue the tabs to the underside of the top guitar piece. the fold lines should match up with the corners and shape of the guitar
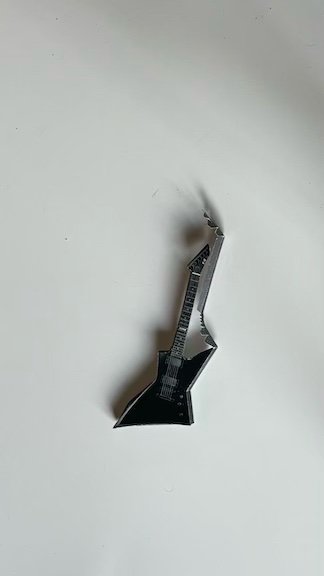
Ben Guitar
Carefully finish wrapping and gluing the side tabs around the guitar and meeting back at the top of the head and then tuck in end tab
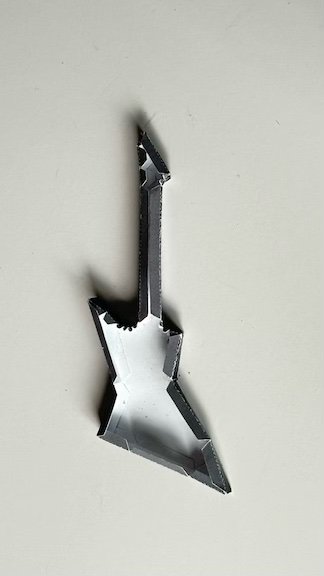
Ben Guitar
when you're done, this is what you should have. glue all visible tabs and around back edge of guitar back piece where it touches the tabs and gently line up and secure
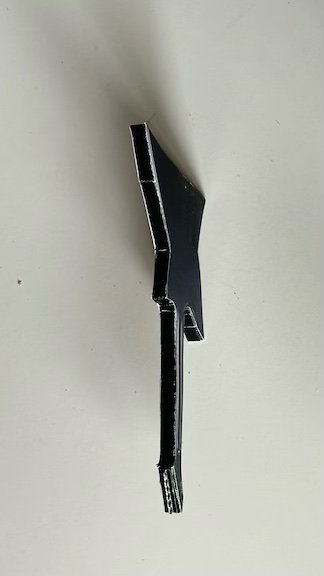
Ben Guitar
carefully add the back piece of the guitar
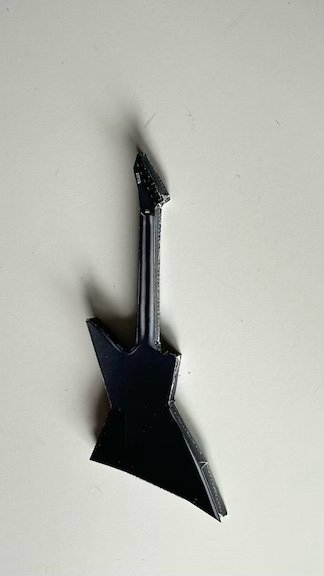
Ben Guitar
get ready to rock out! all you need to do is add the strap, which I have no pics of because I initially forgot to make one in this version, so it was only added to the final for your enjoyment. attach it at the middle of the bottom and the top "pointy part" of the guitar body
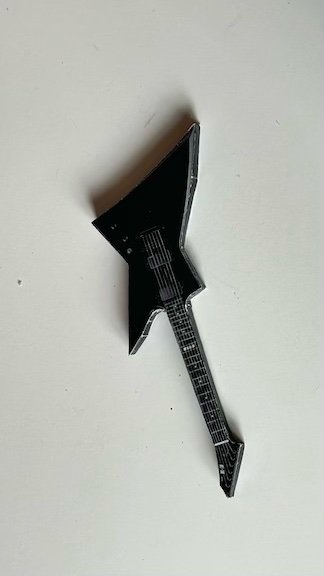
Ben Guitar
Shred on Mo' Fo'! - Riffy guitar solo **
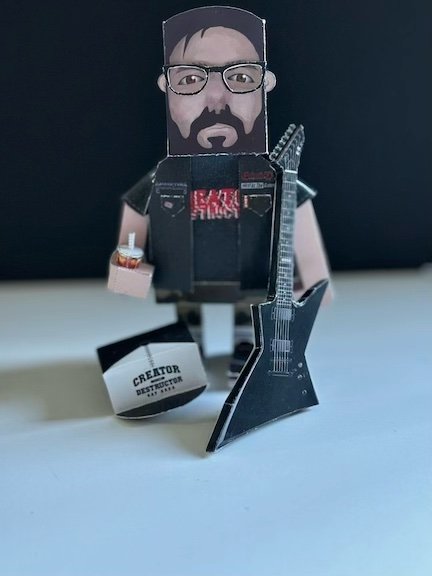
AWS Ben
and there you have it. A fully stacked Ben ready to shred, create or destruct.
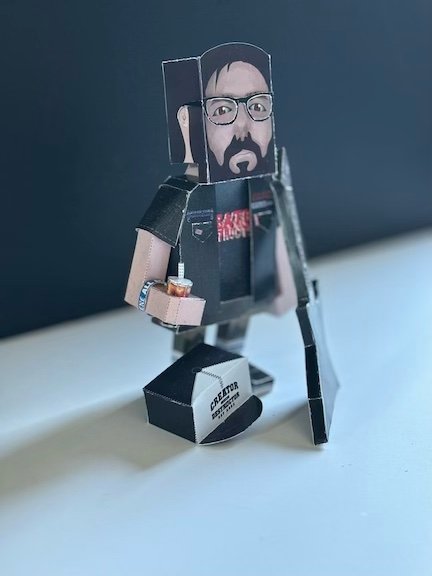
AWS Ben
Side view of your stellar Ben
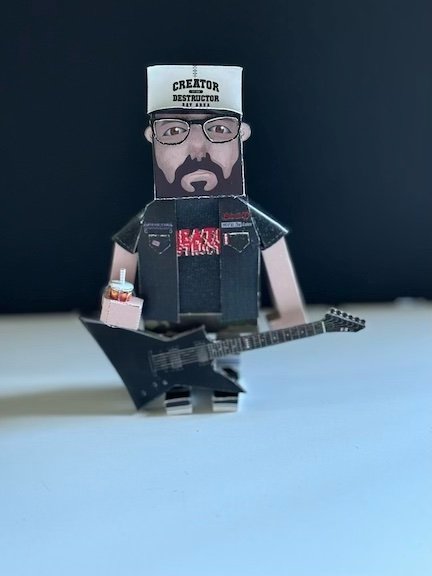
AWS Ben
Doesn't he look as happy as can be?
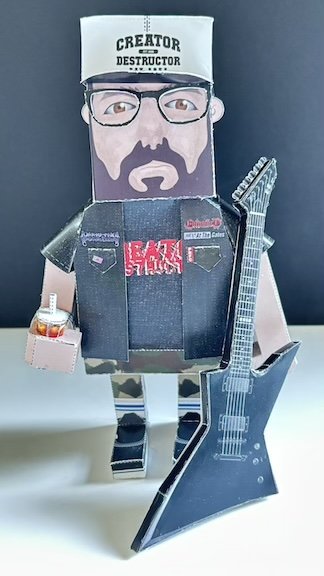
AWS Ben
do I see a glamour shot?
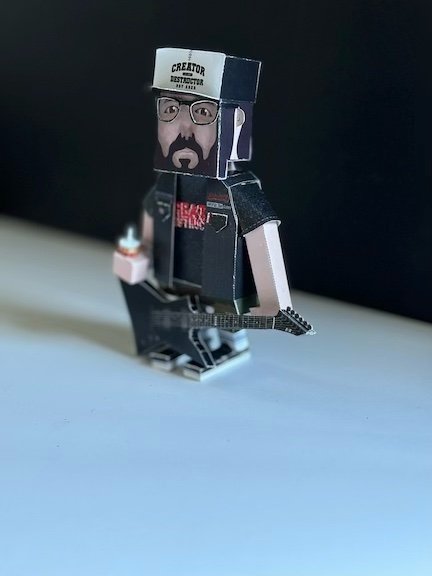
AWS Ben
Now check out this stylish angle...
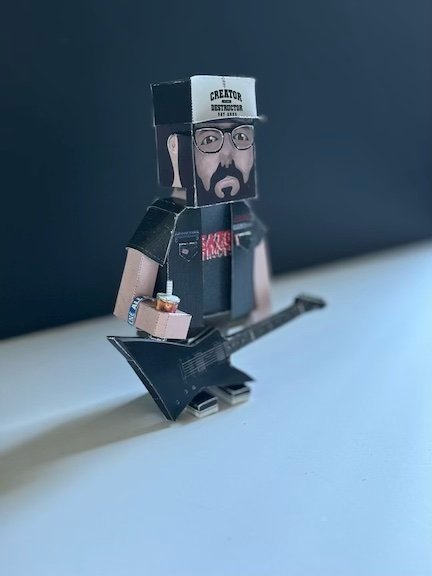
AWS Ben
other Side for good measure
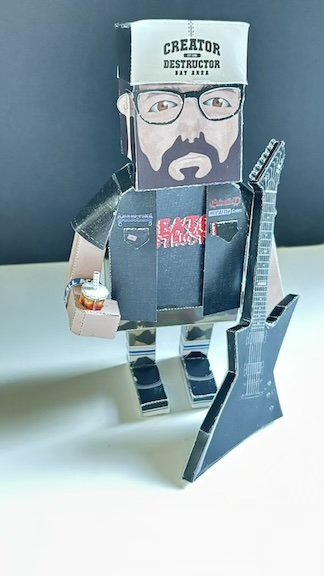
AWS Ben
boy does Ben love being a camera hog
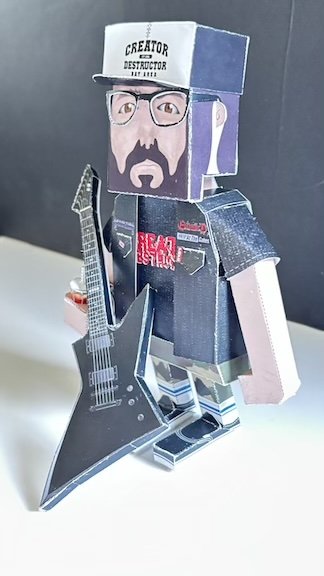
AWS Ben
Ben moonlights as a model when he's not working on his label or playing in the band
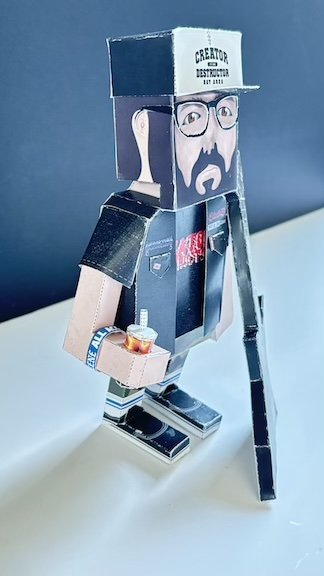
AWS Ben
To keep your little Ben happy, make sure you keep his iced coffee topped up and his battle jacket on to keep him nice and warm
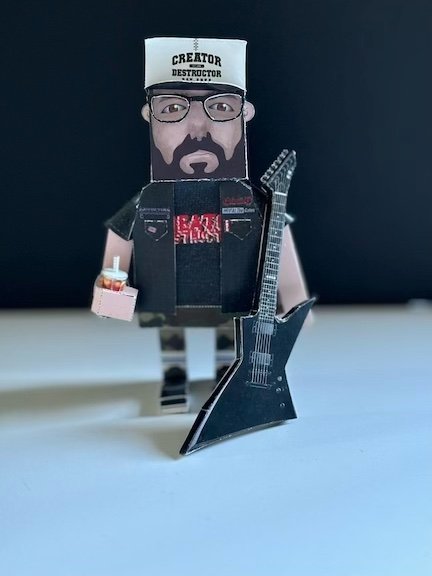
AWS Ben
OH MY GOD! its' the final shot!. if you've been following along in order you should be done now! if not, onto the next!


